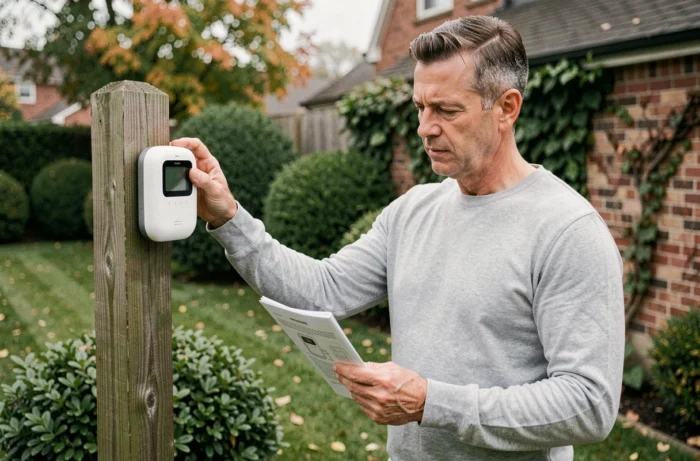
A personal weather station is only as good as its installation. Most of the measurement discrepancies observed between a consumer station and official readings do not come from the equipment, but from a poorly placed sensor or a haphazard setup. Setting up a weather station at home requires adhering to a few principles of placement and configuration that, while not complex, are often not detailed in the manuals provided by manufacturers.
Sensor Placement: Distances Inspired by WMO Standards
The recommendations of the World Meteorological Organization (WMO) serve as a reference, including for home installations. Several technical guides published between 2024 and 2026 have translated these into rules accessible to the general public.
The temperature and humidity sensor should be installed between 1.25 m and 2 m above a natural grassy surface. Below 1.25 m, the sensor measures more the heat radiated by the ground or a wall than the ambient air temperature. A radiation shield (the small ventilated white screen) remains the best way to avoid biases related to direct sunlight.
To find out how to set up a weather station accurately, one must also consider the immediate environment: a stone wall, a concrete terrace, or a slate roof can skew temperature readings due to thermal radiation, sometimes by several degrees in summer.
- The rain gauge should be placed between 0.5 m and 2 m high, perfectly level, with a clear area. The distance to lateral obstacles must be at least twice their height to limit turbulence and rain shadows.
- The anemometer ideally requires a height of 10 m with a horizontal clearance of at least ten times the height of surrounding obstacles. In practical home use, the roof remains the most common compromise, provided it is fixed at the highest and clearest point possible.
- The solar radiation sensor (if your station is equipped with one) should be oriented due south in the northern hemisphere, with no shadow cast between 9 AM and 3 PM, so that sunlight measurements are usable.
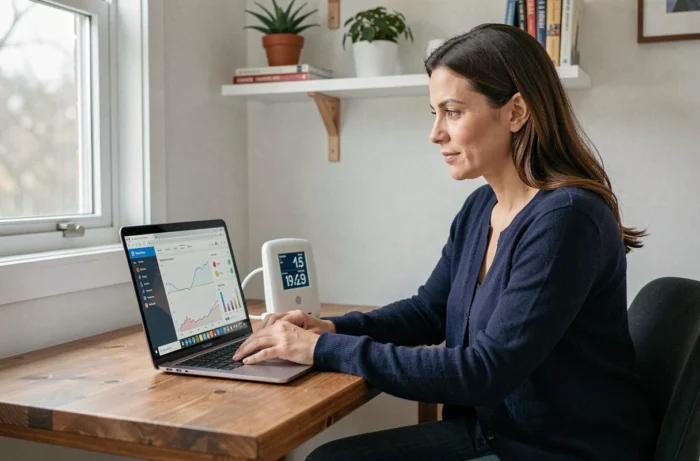
Initial Setup: Time, Time Zone, and Radio Synchronization
The majority of consumer weather stations come with a radio synchronization function with the time signal (DCF77 in Europe). This signal, emitted from the transmitter in Mainflingen, Germany, automatically sets the time and date. However, reception may fail in certain areas or at certain times of the day.
Here are a few points to check during the first setup:
First, insert the batteries into the outdoor sensor, then into the indoor console. This order allows the console to detect the sensor’s signal during its initialization phase. Reversing the sequence is the most common cause of pairing failure.
The time zone and display format (12 h or 24 h) must be set manually even on radio-controlled models. Radio synchronization only corrects the absolute time, not the time zone. On some La Crosse Technology models, a department code also allows for refining local weather forecasts.
If radio synchronization fails, place the station near a northeast-facing window overnight. The DCF77 signal propagates better in the absence of solar disturbances, and nighttime reception is significantly more reliable.
Calibration of Temperature and Humidity Sensors
A new sensor is not necessarily accurate. The manufacturing tolerances of consumer thermal probes are around plus or minus one degree. For humidity, the discrepancy can be more pronounced, especially below 30% or above 80% relative humidity.
Comparing your station’s readings with those of a nearby Météo-France station remains the most accessible method to verify the consistency of your measurements. If a constant discrepancy appears (for example, your sensor consistently shows 1.5 °C higher), some consoles allow for applying a correction offset in the settings.
Field reports vary on the reliability of low-cost humidity sensors. Some users notice a drift of several percentage points after a few months of exposure. Regular cleaning of the probe and replacing the batteries before they are completely discharged limits this phenomenon.
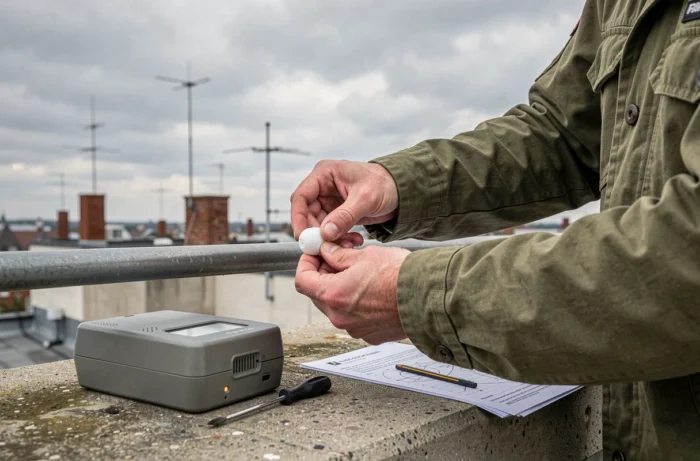
Regular Maintenance and Reliability of Readings Over Time
Setting up a weather station is not a one-time act. Weak batteries are the primary cause of erratic readings: missing data, loss of connection between sensor and console, aberrant measurements. For battery-powered models, checking every six months prevents most malfunctions.
Rain Gauge and Tipping Buckets
The tipping bucket rain gauge accumulates dust, leaves, and insects. A quarterly cleaning of the collector and buckets ensures that each tip corresponds to the calibrated volume. Without this maintenance, rain totals gradually drift.
Solar Panels and Exposed Sensors
Stations equipped with a small solar panel for powering the outdoor sensor lose autonomy if the panel is dirty. A quick wipe with a damp cloth is enough, but it needs to be remembered, especially after winter. A clean solar sensor significantly extends the life of backup batteries.
Also check that the radiation shield of the temperature sensor is not obstructed. A spider weaving its web between the slats is enough to reduce ventilation and skew the measurement by a few tenths of a degree.
The setup of a home weather station relies less on the technicality of the equipment than on the rigor of its placement and the regularity of its maintenance. A well-placed, properly calibrated, and cleaned sensor two to three times a year provides reliable weather data, usable for both gardening and monitoring one’s immediate environment.